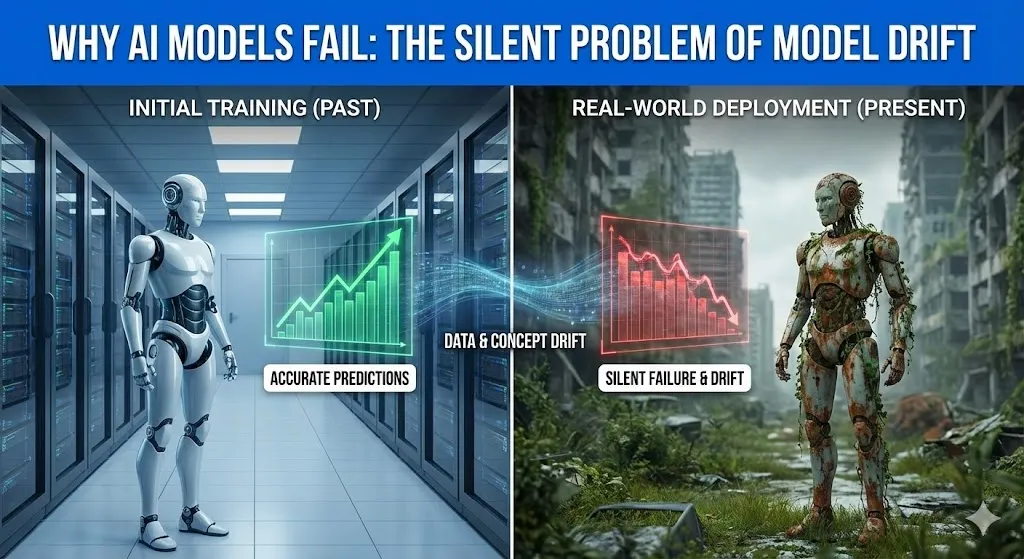
Why AI Models Fail: The Silent Problem of Model Drift
The Reason AI Models Fail: The Silent Problem of Model Drift Have you ever heard one of these big-brained geniuses on about the future? I mean people such as Stephen Hawking. Later in his life he began to become extremely vocal about artificial intelligence. He cautioned that the invention of an actual thinking machine would be the worst or the best thing to have ever occurred to humankind. He was not concerned with evil, with killer robots like in the movies. His trepidation was over something less noisome: ability. What will occur once a machine becomes intelligent, quick enough to the point that its ambitions and ours simply cease to coincide anymore? It’s a big, scary thought. However, what would you say to the idea that the greatest danger to your AI as of now does not lie in the so-called superintelligence that will end up conquest of the world? It is a far more covert, subtler issue. That is why the majority of AI projects fizzle out and fail quietly. Artificial intelligence is not the most challenging aspect of creating the model. It is holding true to it because the world is evolving. Majority of AI systems fail not due to poor models, they fail due to the world they are trained on becoming not the world that they are applied to. This selfless issue is referred to as model drift. And it is noisily humiliating the AI performance in manufacturing systems all over. In this posting, we will deconstruct it all. We will discuss what model drift is, why it is a silent killer and examine one of the huge, real-life failures that cost a company more than half a billion dollars. It will all make sense to you by the end and what you can do about it. What is AI Model Drift? So What? Alright, we should abandon the technological lingo. Think about the whole semester of studying history in a cram study. You are well informed about the World War II the dates, the battles, the major personalities. You enter an exam when you are feeling confident, and then you realize that all the questions are regarding the social media trends of the 2020s. You’d fail, right? I am not saying you are dumb, but you have inherited studying the concept (WWII history) that is no longer required on the test (the world today). This is model drift in a nutshell. It is the inherent atrophy of a predictive capability on an AI model, due to the fact that the world it was trained on is no longer the same. Your model is yet to stop, still at work. It has not gone down or emitted error messages. And it is simply fading away, gradually becoming dumb. And this is a colossal issue as such silent failures make bad business decisions. A Data Drift versus a Concept Drift: The Two Villains Model drift is not a single bad thing, but rather a pair. Imagine them as two distinct forces that are just coming into your perfect world of the model and throwing everything off. These are the so-called data drift and concept drift. They are close but they confuse everything in their own peculiar way. Comparison Table: Data Drift vs. Concept Drift Feature Data Drift (Covariate Shift) Concept Drift Simple Analogy The nature of the music requests varies. The definition of the cool music varies. What Changes? The characteristics of the input data vary. The dependence between the input and the output varies. Example You have created a fashion recommendation AI that is mostly trained on the information of customers aged 30s and 40s. Then, one day your app is trending with teenagers. Input (age of the user, preference of style) is no longer the same. Your model is currently proposing blazers to Gen Z. Your artificial intelligence forecasts defaults on loans. It was conditioned to the time of low risk in a time of low unemployment. However, nowadays, even those employed have become defaulting (the idea of low risk has been transformed by the recession). There is the same input (employment status), but with a changed meaning to the prediction. Is the Model Wrong? Technically, no. It is merely manipulation of data that it has never encountered. Yes. Its main reasoning has become obsolete. These two tend to occur concurrently. To consider an example, the COVID-19 pandemic overturned the buying behavior of people in a single night (data drift) and changed their view of what they perceived as a necessary purchase (concept drift). Models used to detect fraud, as well as manage inventory, were flying blind. A Real-World Disaster: Trying to lose a Half-Billion of dollars to Model Drift at Zillow To find a more perfect and painful instance of model drift, go no farther than Zillow does. In 2018, Zillow introduced a program, the name of which was Zillow Offers. The idea was revolutionary. Their future values would involve using a strong AI model (the successor of their Zestimate) to estimate the future value of a home, purchase it directly off the seller, give it a few touch-ups, and sell it to someone at a profit. They were so sure that they are going to get billions. For a while, it worked. The real estate market was burning. Prices were only going up. The model was trained on this fact, and it learned a simple rule which is to buy houses, as tomorrow they will have a higher value. And then, the world changed. The housing market began to decelerate in the middle of 2021. However, the model of Zillow did not receive the memo. It was also conditioned on years of data of a hot market and proceeded to recommend the acquisition of homes at excessively high prices, which however, would remain the same way it had been. This is archetypal concept drift. The correlation of the attributes of a home and its future selling value was now to be
Why AI Models Fail: The Silent Problem of Model Drift Read More »